Holistic Product Design Course by Rachel Inman and Munish Dabas
Holistic Product Design course taught by two UX Designers from Google was focused on teaching students a holistic approach to design process consisting of design, prototyping and user testing.
Writer at Harbour.Space University
Holistic Product Design course taught by two UX Designers from Google was focused on teaching students a holistic approach to design process consisting of design, prototyping and user testing.
The class was carried out in a design sprint to help students create prototypes for their personal projects in a short time and improve their design with the useful feedback they got from user testing.
What Is a Design Sprint?
A design sprint is a highly-structured problem-solving process that goes on for multiple days with the aim of tackling a certain part of the project that the team feels stuck with. It gathers all the key players in the same environment and allows them to focus on solving a problem without outside distractions.
In short, it is a compressed version of the common design process seen at companies. The aim of a design sprint is to develop solutions to these problems through designing, prototyping and testing concepts with users.
Goal of the Sprint
During the sprint week, we created various project deliverables from user journey to competitive analysis, developed two working prototypes and formed a foundational understanding of how users respond to our project concepts by testing our prototypes with them. The structure of the sprint consisted of six steps in total to allow a comprehensive understanding around the problem and make it easier to see new possibilities for improvement.
- Step 1: UNDERSTAND
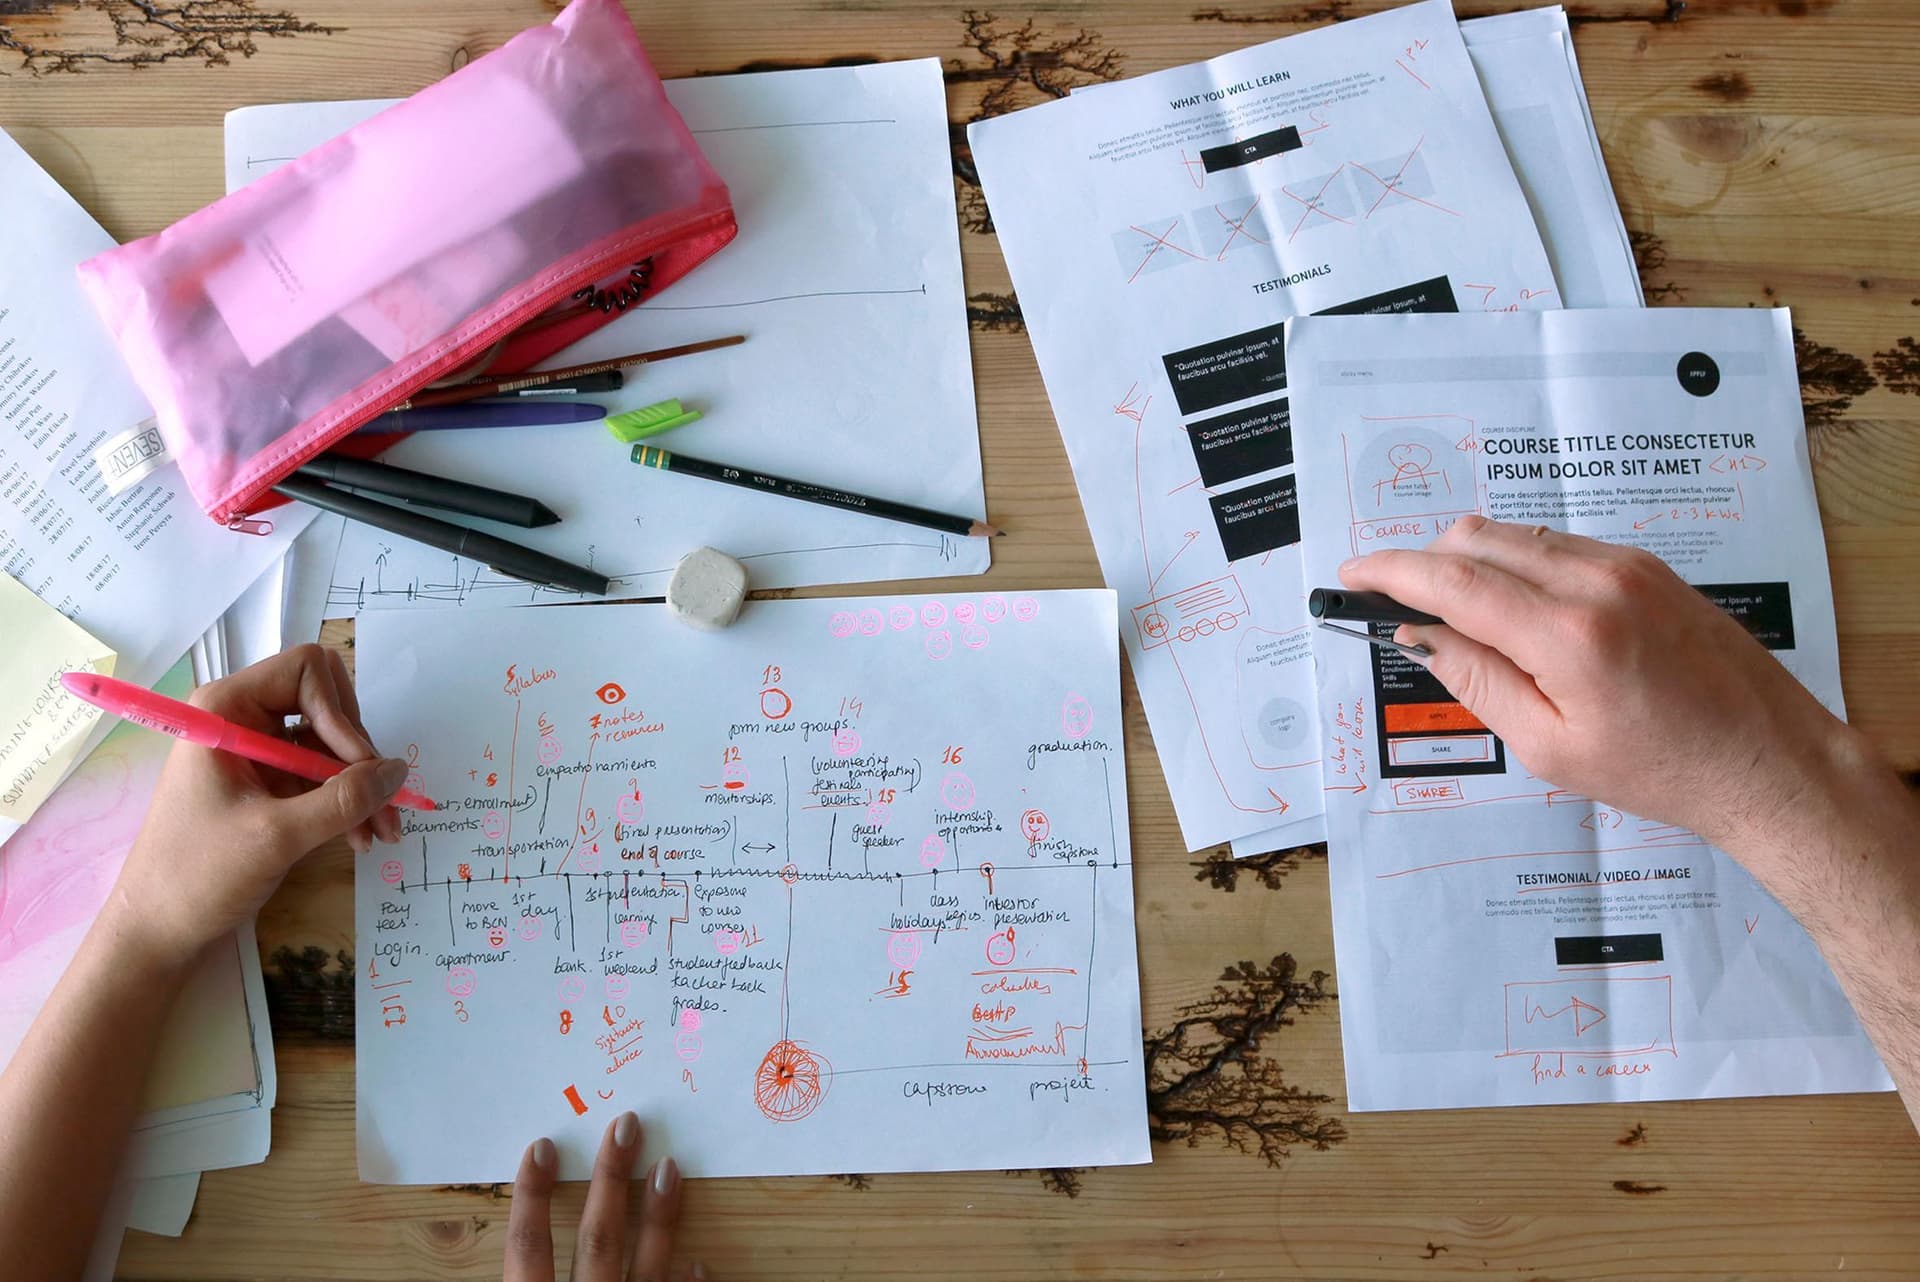
Understanding your problem space is important so that you can tackle the problems you are aiming to solve successfully. During the class, we created three personas and a user journey of the current state. This practice helped us to see how we can tackle the problem and help our users.
We then looked at the current trends in the field and created a detailed competitive analysis mapping out the patterns and differences. After all the analysis, we wrote our sprint question, the problem we wanted to tackle during the design sprint.
- Step 2: DEFINE
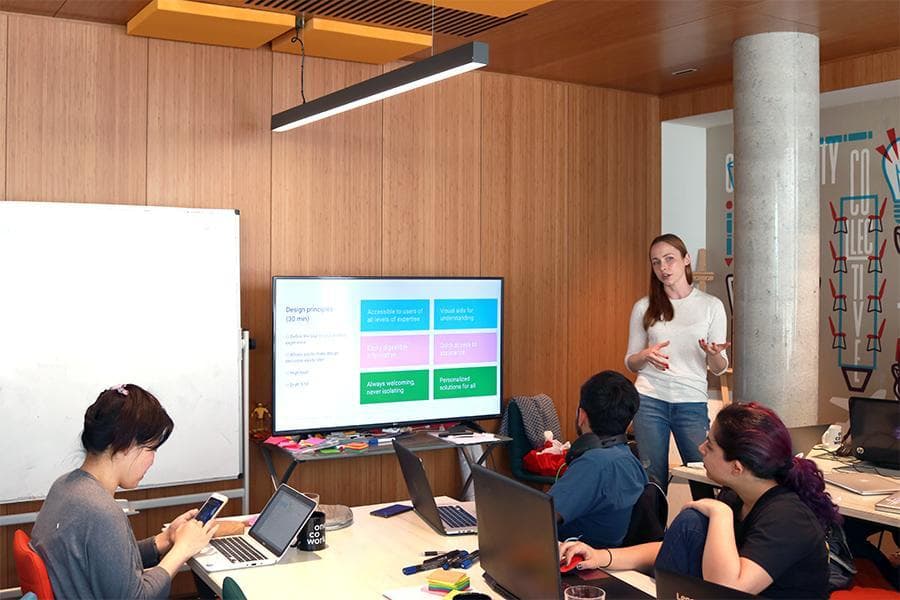
Design principles help to guide your design process and make sure you do not to stray away from your initial intentions. Before you dive into solving problems, you should set clear goals and how to achieve those goals.
Another helpful tool to set clear goals is to visualize your business 10 years from now and write down what an ideal press release about your business would look like. In the class, we used various methods to define our goals within different time scales. We then defined our success metrics for tackling the problem we intended to for the duration of the sprint week.
- Step 3: DIVERGE
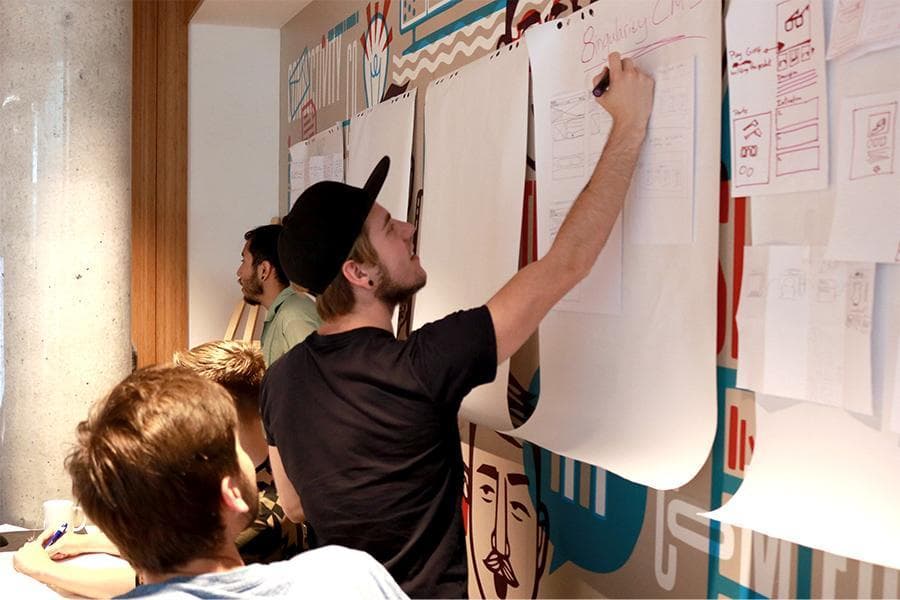
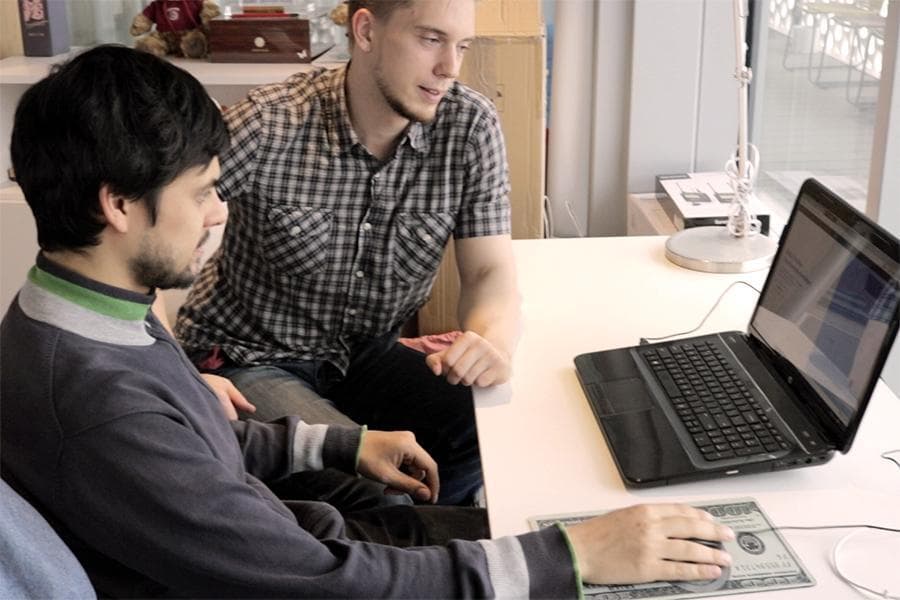
After defining the problems that you will be tackling and setting clear goals, the next step is to diverge your thoughts to find a variety of approaches to solve these problems. To open your thought flow and get creative, you can do sketches to shape your thoughts.
In the class, we set up short time periods to sketch our solutions and share with each other to get feedback and broaden our perspectives. Then, we created storyboards by combining our ideas and showing how a user’s journey through this solution would look like.
- Step 4: DECIDE & VALIDATE

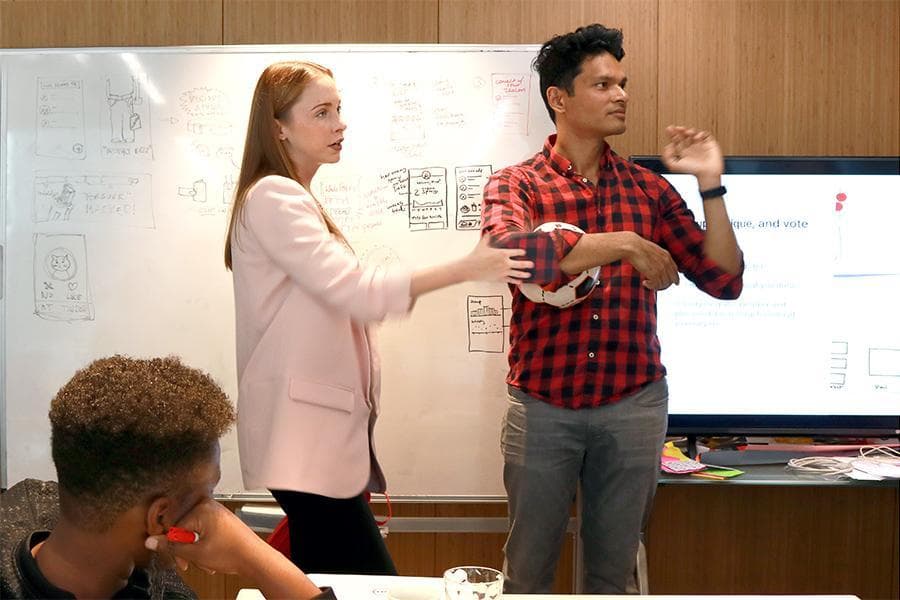
In this step, we put together all the concepts we generated before and voted on the concepts by asking the potential users what they thought was the most prominent. After getting feedback, we evaluated the concepts on their feasibility and benefits to the user.
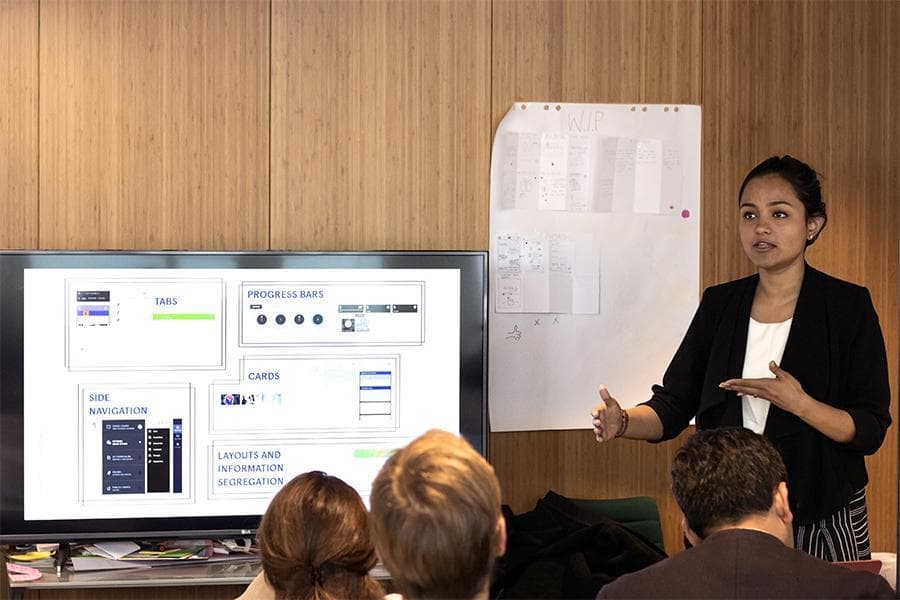
- Step 5: MAKE
Prototyping the concept that we decided to try was the next step the design sprint. We prototyped our digital solutions using UX software such as Principle. After creating our prototypes, we prepared user research questions that would enable us to understand if we achieved our success metrics.
Here is one of the few effective keys to the design problem: the ability of the designer to recognize as many of the constraints as possible; his willingness and enthusiasm for working within these constraints.”
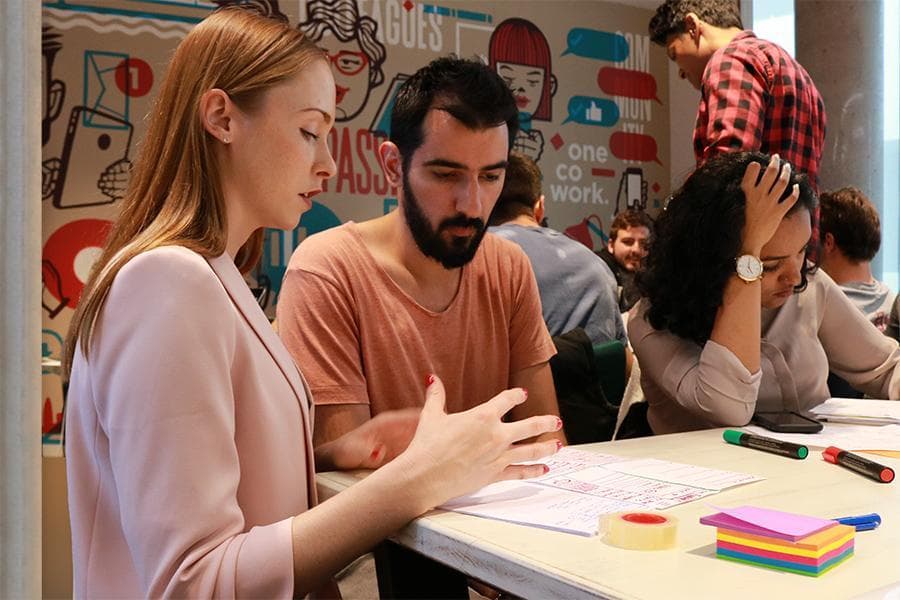
Rachel Inman points out that the most important to remember while interviewing the users is to ask open, non-leading questions. Asking questions like “Did you like this feature?” can put pressure on the person to answer in a misguiding way.
- Step 6: SHARE & TEST
Last step was to test our prototype with the interviewees and guide them through it to resolve any misunderstandings, as well as take notes for future improvements. After the testing, we asked our research questions to the users to learn what they liked and didn’t like.
Summarizing our test results allowed us to call out the trends that showed up during the testing. Knowing what we needed to change and improve, we released a second version of our prototype. Testing with a second group users and collecting more data gave us a clearer picture and more defined results.
At the end of the course, we presented all our findings to our classmates and instructors along with guests from the industry. Although very much hectic, the last three weeks have been incredibly productive. It was a wonderful experience to be a part of this class.
Thanks for reading
If you're interested in further growth, take a look at our website to learn what your future could look like at Harbour.Space. Lastly, get in touch with us at hello@harbour.space to let us know your thoughts!